
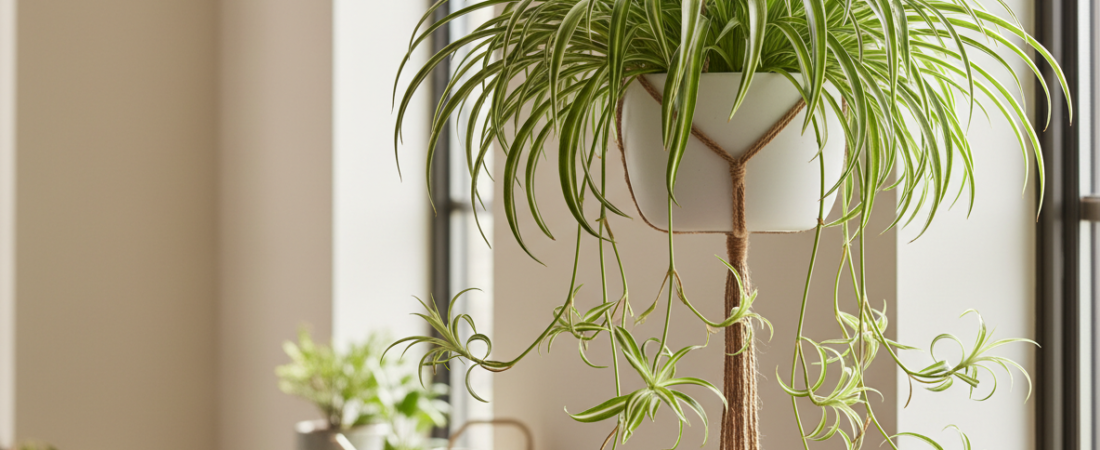
Spider plants are an appealing choice for small homes because their arching foliage fits in a hanging basket and mature plants often send out baby plantlets.
Before you begin
Give your spider plant bright indirect light, a draining pot and enough room for its leaves to arch without rubbing against furniture.
Practical steps for a small space
1. Keep light bright but gentle
Bright indirect light supports healthy foliage. Harsh midday sun may bleach the leaves, while a very dark spot can reduce growth.
2. Water based on conditions
Check the top portion of the potting mix before watering. Water thoroughly and then drain excess rather than leaving the basket sitting in water.
3. Learn from brown tips
Leaf tips can brown from inconsistent watering, salt buildup, overly dry air or other stress. Trim damaged ends if desired and correct the underlying care issue.
4. Propagate plantlets
Wait until a baby has visible root bumps or small roots. Root it while attached or detach it into moist potting mix and keep it lightly moist while it establishes.
5. Refresh a crowded plant
Repot if roots are severely cramped or water runs through compacted mix without wetting it. Avoid jumping to a drastically larger pot.
Common mistake to avoid
Spider plants are generally considered non-toxic to cats and dogs, but chewing any plant can still upset a pet’s stomach.
A simple plan for this week
This week’s spider plant task: inspect any arching runner for baby plantlets with small root bumps. If a plantlet is ready, try rooting one in a little pot of draining mix while leaving it attached to the parent until it establishes. Keep the mix lightly moist, not saturated, and check the baby over the next two weeks. If the parent has no runners, focus on healthy growth and adequate light rather than forcing it with fertilizer.
Spider plant propagation: two methods compared
Plantlets are easiest to propagate after they have formed little root bumps or short roots. Choose a healthy baby rather than removing every runner at once. Use clean scissors if you need to separate a plantlet from its long stem.
Method 1 — root in potting mix: set the plantlet in a small pot with drainage and lightly moist potting mix, keeping the crown above the surface. For a plantlet with very few roots, you can leave it attached to the parent runner while it establishes, then cut the runner.
Method 2 — root in water: place the base of the plantlet in a small clean glass so the developing roots touch water while the leaves and crown stay mostly above it. Change cloudy water, keep the glass in bright indirect light and move it to potting mix after a modest root system has formed. Water roots are not a guarantee of an effortless move to soil.
- Plantlet wilts after potting: check whether the mix is too dry, soggy or packed tightly around the crown. Keep conditions gently moist while roots establish, but do not waterlog the pot.
- Brown leaf tips: compare watering consistency and look for mineral or fertilizer residue. Damaged tips cannot turn green again; changes in new growth are more informative.
- Few or no babies: an immature or stressed parent plant may not send runners. Review light and overall health before buying supplements.
For established plants, see our root-bound repotting guide. Avoid combining propagation and major changes in lighting or fertilizer on the same day: it becomes difficult to tell why a plant responded.
Frequently asked question
Why doesn’t my spider plant make babies?
Light, maturity and growing conditions affect whether it sends out plantlets.
Keep learning
Explore our Indoor Plants collection and the 10 Best Indoor Plants for Small Apartments guide for more ideas. For general plant placement and care, see Oregon State University Extension.