
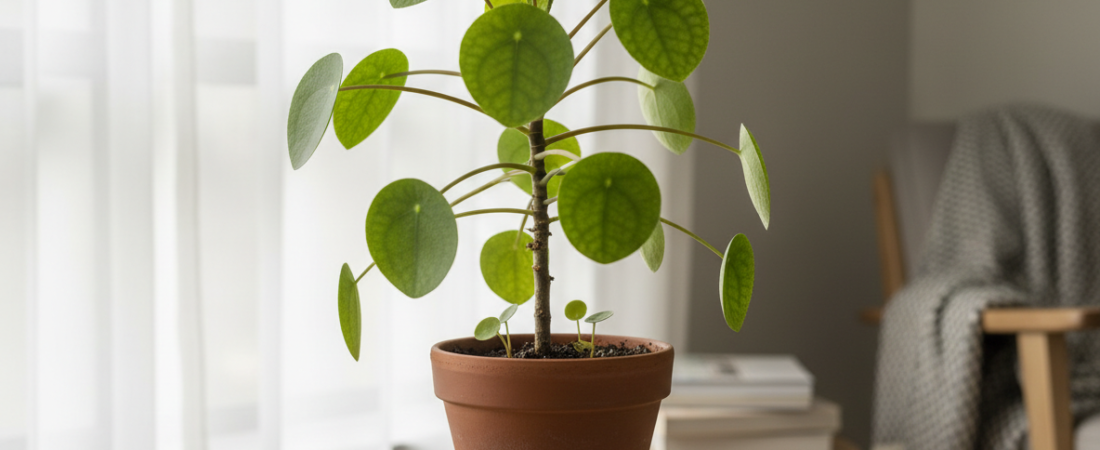
The Chinese money plant, Pilea peperomioides, is known for round coin-shaped leaves and an upright, compact habit. It fits comfortably on a bright windowsill, desk-side stand or narrow shelf. Despite the playful appearance, its care is fairly straightforward: provide bright but gentle light, avoid waterlogged soil and give the leaves space to grow.
Select a bright, gentle location
Choose bright indirect light near a window, ideally where the plant avoids prolonged harsh afternoon sun. A spot with morning light can work, but introduce a newly purchased plant gradually if the window is much brighter than the shop. If stems elongate or the plant leans strongly, reassess the light before reaching for fertiliser. Pilea still needs daylight even when displayed as a decorative accent.
Rotate for a more balanced shape
Pilea commonly angles its leaves toward the light. Turn the pot a quarter turn occasionally to encourage more even growth. The goal is not to make every leaf point in the same direction; mature plants naturally develop an irregular form. Place it where the leaves will not constantly brush against curtains or books as you rotate and water.
Use a pot with drainage
A small nursery pot with holes and a free-draining indoor potting mix is a good starting point. Decorative ceramic covers are fine when you remove the inner pot to water or empty the cover after drainage. Choose a modest pot size, because an oversized volume of wet mix can stay damp well after roots have absorbed what they need.
Water by testing the mix
Check whether the upper layer of the potting mix has dried before watering again. A plant in a warm, bright room may dry sooner than one on a shaded winter sill. Water until the mix is moistened and excess escapes, then allow the pot to drain completely. Drooping leaves can result from more than one problem; inspect moisture and roots before responding.
Propagate healthy offsets
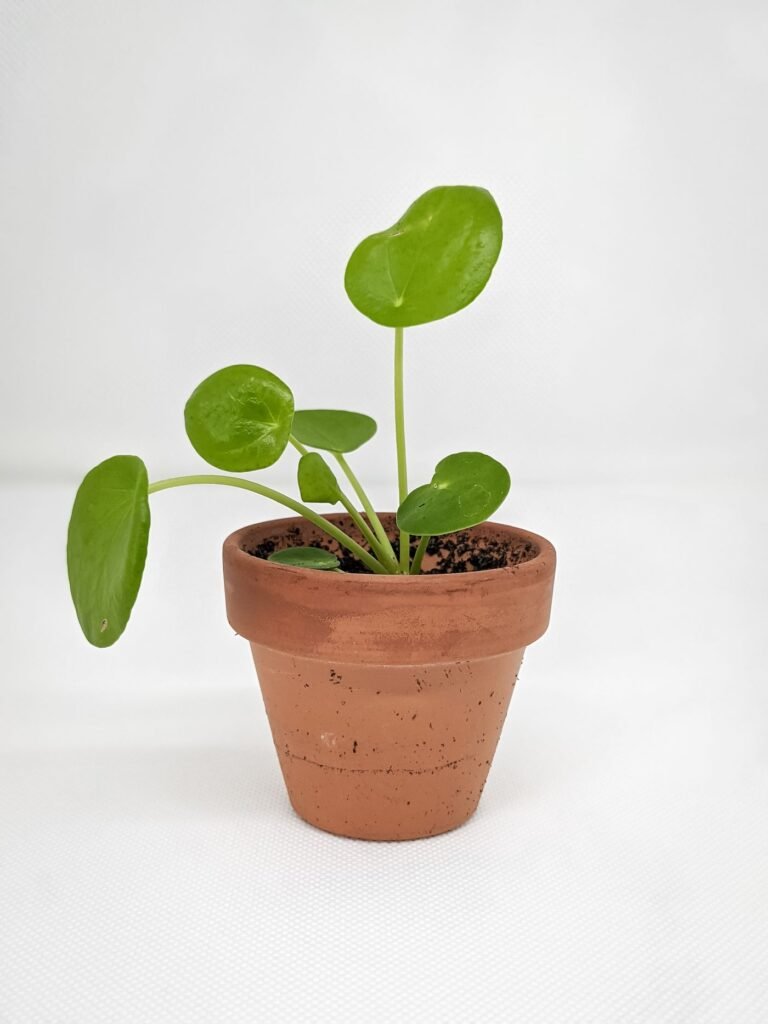
Established Pilea plants can develop little offsets, sometimes called pups, near the base. Wait until an offset has enough growth and some roots to handle separation. Use clean tools, pot it into a small draining container and maintain gentle moisture while roots establish. Do not detach every tiny sprout immediately; a few extra weeks on the parent may improve success.
Watch the leaves without overreacting
An occasional older leaf may yellow as the plant matures. Widespread yellowing, blackened stems, very long internodes or persistent wilting deserves closer attention. Check light, watering and pests together. Keep foliage away from cold winter glass, and avoid applying extra fertiliser to a plant that is struggling with soggy soil.
Make the display practical before bringing a plant home
A narrow shelf can look spacious while the plant is small, then become awkward once the leaf stalks spread. Test the position with the whole pot in place, leaving room to lift it out without bending leaves against the shelf above. Keep a waterproof saucer beneath it, but do not rely on a woven basket to protect furniture. If the plant sits beside your work area, put it beyond the path of your elbow and away from a laptop exhaust or heater.
Try opening the curtains and window as you normally would. A good permanent spot should still work when the room is in use. If watering requires moving several ornaments, simplify the arrangement now. A light nursery pot inside a removable cover is often more convenient than a heavy planter filled directly with soil. Photograph the plant on its first day so you can distinguish old blemishes from changes that appear in your care.
Learn what your own pot feels like
Use two observations together: the moisture near the surface and the weight of the inner pot. Lift it after a thorough watering and again when the upper few centimetres have begun to dry. The difference gives you a useful reference for that particular plant. A large ceramic cover masks this change, so lift the nursery pot separately. Do not push a finger repeatedly through the same crowded patch of roots; test an accessible edge gently.
If the surface looks dry but the pot still feels unusually heavy, investigate before adding more water. The lower mix may remain wet, especially in a deep container. Conversely, a very light pot with mix pulling away from the sides may need slow, even watering so moisture reaches the root ball rather than running straight down the gap. Let drainage finish before putting the plant back. Record the date you watered, but use the next calendar reminder to check the plant, not automatically to water it.
Decide whether repotting will solve anything
A new purchase does not need a bigger decorative pot simply because it has arrived home. First check that the existing pot drains and that you can manage watering reliably. When repotting becomes necessary, choose a container only a little wider than the root ball. A large pot may appear to save future work, but it makes it harder to judge moisture while a small root system is still occupying the centre.
Look for several clues together, such as a densely crowded root ball and increasingly rapid drying despite thorough watering. One root showing through a drainage hole is a reason to inspect, not proof that the whole pot is packed. Support the plant at the base when sliding the root ball out; avoid lifting it by a leaf stalk. Have fresh indoor potting mix and the replacement pot ready before you begin, and keep the plant at its previous planting depth.
Separate an offset without sacrificing the parent
Choose a healthy parent and an offset you can reach without dismantling the entire plant. Gently expose the connection enough to see whether the small plant has its own roots. A rooted offset is the more straightforward first project. If the sprout is tiny or you cannot identify its roots, leave it attached and check again later. There is no need to remove pups just because they appear; they can also contribute to a fuller-looking pot.
Prepare a small container before making the separation, and keep any roots attached to the offset. Label the new plant with the date, place it in gentle light and observe it separately from the parent. Its small pot may dry at a different rate, so do not assume both plants need water together. Avoid repeatedly pulling it up to look for progress. New growth is a more useful long-term sign than whether an older leaf immediately looks perfect.
Use a short troubleshooting record
When a leaf curls or yellows, write down where it is on the plant, what the mix feels like and what changed recently. A move nearer the glass, a heating change or water left inside the cover may explain more than the leaf shape alone. Check leaf undersides and the points where stalks meet the stem for pests. If you see suspect insects, separate the plant from its neighbours while you identify them and choose suitable treatment.
Make one sensible adjustment at a time when the problem is mild, and compare new growth rather than expecting damaged tissue to turn green again. Serious deterioration needs prompt investigation, especially if the stem softens or the pot smells unpleasant. Feeding will not repair rotten roots or supply missing light. When the plant is growing well, follow the houseplant fertiliser label; reduce feeding when growth slows instead of maintaining a fixed year-round routine.
Quick checklist
- Place Pilea where you can reach it easily for rotation.
- Keep its nursery label so you can confirm the botanical name.
- Start propagation with one healthy offset rather than all of them.
Frequently asked questions
Does a Chinese money plant need direct sun?
Bright indirect light is usually a reliable starting point; intense midday sun can damage leaves.
Why is my Pilea leaning to one side?
It often grows toward its light source; improve the light position and rotate the pot occasionally.
Can I keep Pilea in a jar without holes?
A draining inner pot is easier and safer for beginners than trying to maintain roots in a permanently closed jar.
Keep learning
Read our Plants for East-Facing Windows for a related small-space project. For additional horticultural context, visit University of Minnesota Extension’s guide to indoor light.